
Kitchen cabinet respray to factory finish — Markham
Bring worn cabinets back to like-new with a factory-style spray finish. Less demolition, precise prep, long-lasting results.
What we walked into
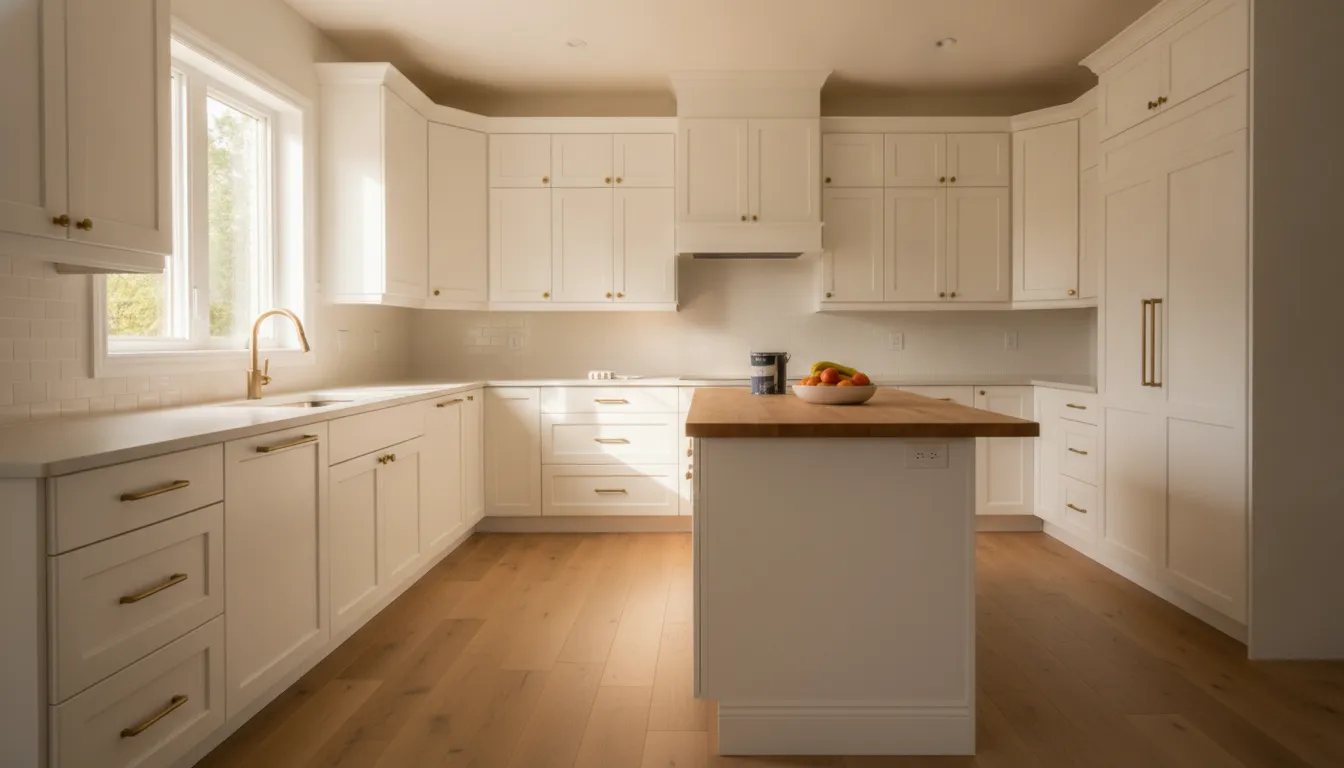
This job was a full respray of shaker-style kitchen cabinets in a two-storey home in Markham. The owners wanted the depth and durability of a factory-applied finish without replacing cabinets. They asked for a clean, low-sheen white that would stand up to daily family use.
Condition of the cabinets
Cabinet boxes were birch plywood, doors and drawer fronts were MDF with a thermofoil on older faces. There was surface wear at handles, a few water stains under the sink, and minor edge swell on two doors. That dictated selective panel repair and full adhesion prep.
Site constraints and access
Kitchen remained live during the job; homeowners stayed in while we worked. Space for spray booths was limited. We set up a negative-pressure containment tent in the garage and transported doors out for shop spraying, while keeping the footprint small inside the Markham house.
Homeowner goals versus budget
They wanted a factory-level finish but were mindful of cost and downtime. The compromise: keep the original cabinet boxes, respray all doors/drawer fronts in shop, and spray-touch the boxes in place on-site. That saves replacement costs and shortens timeline.
How we did it
- 1
Strip and inspect — not a demo
We removed all doors, drawer fronts, and hardware. Hinges and soft-close mechanisms were tagged and inventoried. Each piece was inspected for delamination, edge swell or deep gouges; two doors required replacement of MDF edges before continuing.
- 2
Prep and repair for adhesion
Thermofoil panels were sanded with 220 grit and scuffed using a 3M maroon pad to promote bonding, then wiped with acetone. For bare MDF areas we applied a shellac-seal (Zinsser BIN) to stabilise edges and stop tannin bleed; plywood boxes got light sanding and a degrease.
- 3
Shop spray: factory-style coating
Doors and drawer fronts went to our shop. We used a high-volume, low-pressure (HVLP) spray setup and applied a two-part waterborne acrylic polyurethane designed for cabinetry (commercial-grade). Typical build: adhesion-promoting primer, two full colour coats, followed by two clear coats for durability.
- 4
On-site spraying and reassembly
Boxes were masked in the kitchen and sprayed with the same coating to match sheen and colour. We used HEPA-filtered negative-pressure containment to control overspray. After a controlled cure, hardware was reinstalled, hinges adjusted, and doors hung with gap and reveal tolerances checked.
- 5
Final checks and homeowner walkthrough
We ran a punch list: soft-close alignment, paint coverage, and contact with plumbing fixtures. A thin protective film was applied to counters where work continued. We left homeowners with care instructions, including recommended cleaners and a 24–48 hour handle-free window before heavy use.
What came out the other side
The finished kitchen read like a factory-painted install. Colour match and sheen were consistent across doors, drawers and boxes, and the finish performs better than the original thermofoil in damp conditions.
Performance and durability
Two-part waterborne polyurethane gives good chemical and abrasion resistance for kitchens. The clear coats resist scuffs from daily use and clean well with non-abrasive detergents; we also sealed vulnerable edges to prevent moisture intrusion.
Warranty and documentation
We provided a job sheet listing products used (primer, base coat, topcoat), spray equipment, and maintenance tips. That documentation supports warranty coverage and helps the homeowner or future contractors understand the system we applied.
Minimal disruption, big impact
Keeping most of the cabinetry in place kept costs down and the household functioning. With shop-sprayed doors and on-site boxes, the job took less time than a full tear-out while delivering a factory-style finish.
Common questions on cabinet resprays
How long does a kitchen cabinet respray take?
Typical timeline for a kitchen of this size is 7–10 business days from pickup to rehang. Shop spray and curing plus on-site masking take most of that time; faster turnaround risks compromised cure and adhesion.
Will spraying work on thermofoil or laminate doors?
Yes, but it needs the right prep. Thermofoil and laminate must be abraded and primed with a compatible adhesion primer. If panels are delaminated or warped, replacement of those pieces is safer than painting over the damage.
How disruptive is the process for a family-home in Markham?
We run containment and do as much work in the shop as possible to limit dust and smell inside the house. Expect short periods of on-site spraying and masking; we coordinate timing to suit family routines and Markham seasonal ventilation needs.
When is a respray the right choice versus full replacement?
Choose respray when the cabinet boxes are structurally sound and the layout and hardware still meet your needs. Replacement makes sense for severely water-damaged boxes, major layout changes, or when you need a different cabinet style.